
This feature allows admins to allocate uploaded assets directly to external partners, including charities, saving a great deal of communications time in the process.
Here's a guide to show you how to use this feature.
Like with internal allocations, you'll need to sign in to the Company Admin account.
Once signed in, go to Settings and then Control Assets.
Scrolling down this page, they will find a section entitled ‘Allocate Items’, beneath which is a drop-down box.
Change this box to ‘Enabled’, and click ‘Save Changes’.
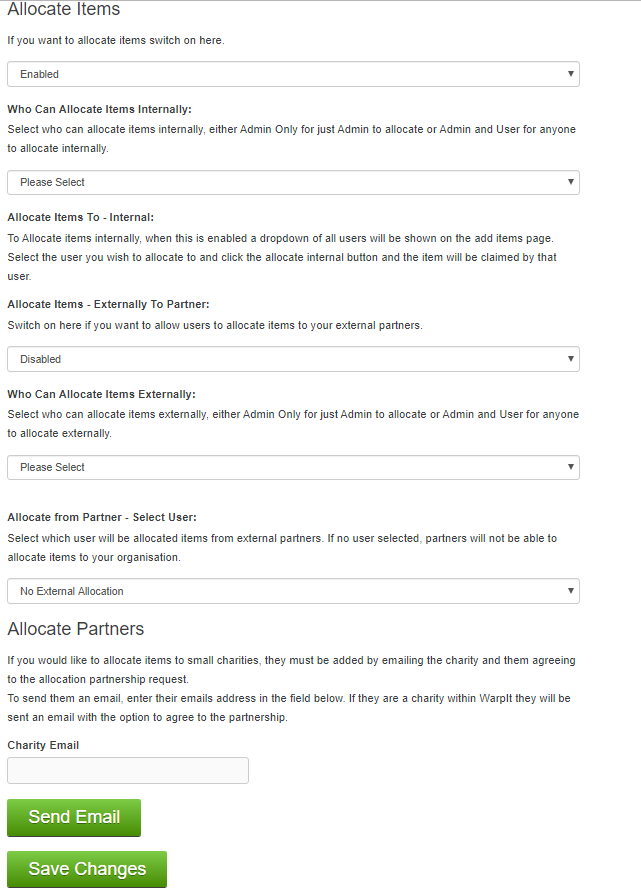
When the new options appear, scroll past the internal allocations settings to see the different external allocations settings, which are:
- Allocate Items - Externally to Partner
- Enabled
- Disabled
This is used to turn the feature of external allocation on or off.
- Who Can Allocate Items Externally:
- Admin only
- Admin and user
This defines who has the authority to allocate items to external partners.
- Allocate From Partner - Select User
- All of your internal users will be shown. Click on the user you want external partners to allocate items to.
This feature allows members of your organisation to be allocated items from your external partners. If left as the default ‘no external allocation’ then partners will not see the option to allocate items to you on their ‘add items’ page.
If you'd like to add charities to your list of approved external partners for allocating items, you will need to enter their email address in the final section provided in the ‘Allocate Items - Enabled’ drop down box.
If your charity partners are already registered with Warp It, they'll receive an option to agree to the partnership, as long as you used the same email address that they're registered with.
If your chosen charity partner hasn't signed up to Warp It, they'll be sent a very polite email, as below:

When the charity partner clicks accept, they'll be redirected to a page that states ‘You have now been partnered with [XYZ company]. [XYZ company] can now allocate items to [ABC charity].
After this has taken place, you'll see the external charity partner at the bottom of the‘Allocate Items’ settings page.
When the members of the organisation who have permission to allocate to external partners are uploading an item and filling in the details, they'll notice a new box that says ‘Your settings allow you to allocate items to charities.
Select which charity from the dropdown then click allocate charity button’.
The charity will receive the item as a claimed item and must then set the item as delivered or collected to finalise the transaction, or cancel it, in which case it'll be uploaded as a normal marketplace item.
If you want to read about internal allocations, please use this guide.
Need help?
To book a screen share session to go over this feature, or any other Warp it features, please get in touch and email becky@warp-it.co.uk.