To have the best possible reuse outcome, you need to have as many people involved as possible.
To facilitate this sustainable growth you'll also need to adopt practices that align with your policy and procedures and allow it all to be scaled and tweaked as you go.
In this guide, we'll look at different procedures you can follow in order to populate your reuse system with users.
Firstly, how do staff join up?
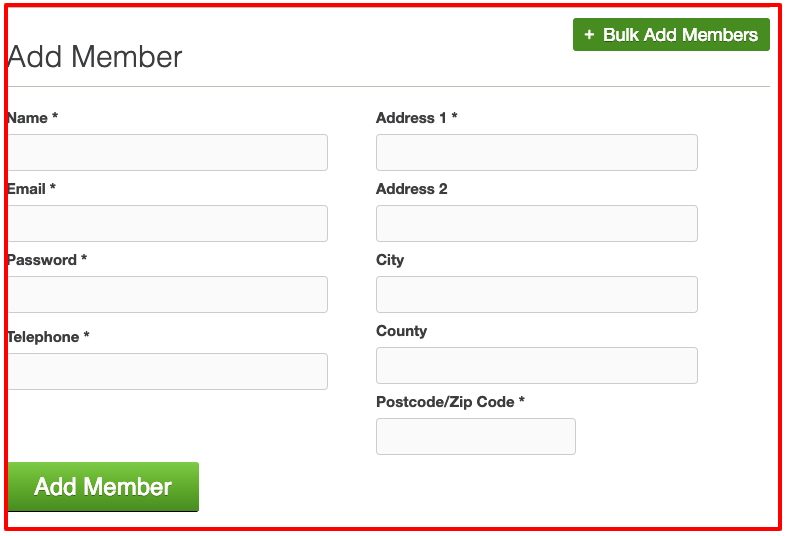
Staff can be added by the admin one by one.
This is a long process but you may want to have hyper-control in the early part of rolling out your reuse project.
To do this log in as admin, go to members, add members and fill in their details.
They'll then get email notifications so they can set up their own passwords.

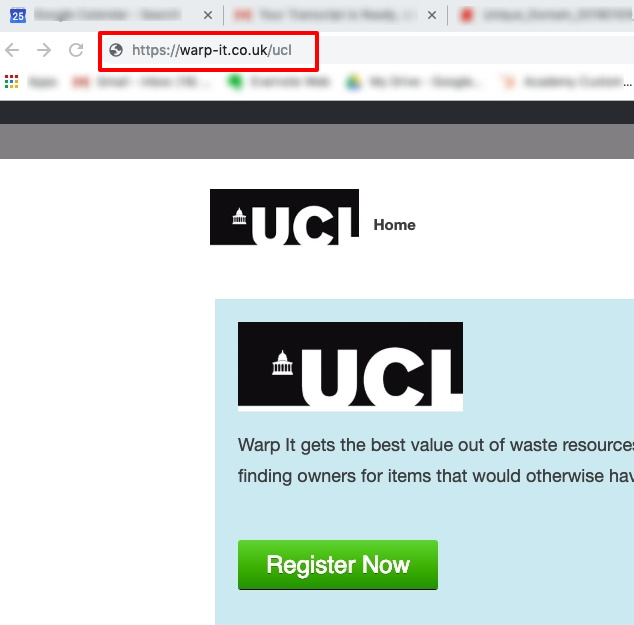
A quicker method which also has the same control, but relies on staff to add them selves is to sign up via the unique domain.

The user will start by going to the unique domain you've given them.
They enter their staff details, such as their work address, email, and phone number.
Once they go to the next step they must agree with the terms and conditions that have been set by the administrator.
Then they need to agree to the data policy.
Once the staff have taken all these steps, the administrator will receive a notification telling them that somebody wants to join.
The admin logs in, checks the application, and either approves or rejects it.
Why would the admin reject an application?
A common problem is staff members use their home email address, and so they might not realise that the reuse system has been designed for work activities only.
For admins, rejections can be made in bulk so, if you see multiple applications with incorrect email addresses, you can reject them altogether.
You can also insert a reason for rejection so that the rejected party understands why.
Approval
Once the admin has approved the staff member, they'll get a notification telling them they can log in and use the system.
At the start of the reuse project, the admin will probably want to have this approval and rejection control so that they can see who is signing up and can engage with them further.
However, as the system expands, it’s a regular task for the admin to keep logging in and doing this on a daily basis, so we included a feature that reduces the time this task can take.
Automated approvals
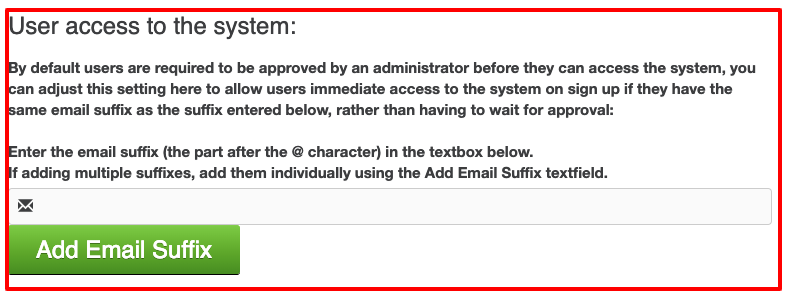
Go to settings, and find ‘control users’.
Here you'll find a setting where anybody with your company email suffix can get automatic approval to the system.
As soon as the staff member enters their details and specifies the correct email suffix, they'll get immediate approval for their account so that they can start listing, swapping, and claiming assets without delay.

Bulk staff member upload
Another way to upload staff to the system is via the bulk upload feature.
This is useful for organisations who want to maximise efficiency and don’t want staff spending time registering themselves.
Another benefit of doing this is you can upload departments one at a time, allowing you to go and give an introduction or basic training before you do so.
Another example is that your Procurement Department will have a record of who the biggest buyers across the estate are.
If you can get this list as a spreadsheet, you can input that data into the system and populate it with all of the buyers.
When these people receive their registration notification, all they must do is set a password and they can begin.
Need help?
To book a screen share session to go over this feature, or any other Warp it features, please get in touch and email becky@warp-it.co.uk.


